As educators, we know most importantly that teaching is one of the most demanding, but rewarding, professions out there today. We’re constantly juggling lesson plans, meetings, parent communications and grading, all while trying to maintain some semblance of a work-life balance. This is honestly one of my greatest struggles to date. Because of my busy life, I’ve relied on my own personal planner to make sure I don’t stray from what’s important to me.
One thing I’ve noticed probably more than anything is that most store bought planners don’t seem to meet my needs. There’s never enough space for an extremely full weekly schedule, too many irrelevant pages, and they rarely reflect my own personal style and needs if I’m being honest.
The solution? Design your own.
In this step-by-step guide, I’m going to show you how to create a custom teacher planner from scratch. And because this shop contains such a huge library of clipart, I’m going to focus on how using high-quality clipart can transform your planner from a simple notebook into a vibrant, organized little book that that you’ll always remember to use.
Why Go Digital (or Hybrid) with Your Design?
Before we dive in, we need to decide on the medium we’re going to use. There’s typically 2 different options that are most popular to use. I personally go the digital route, but it’s really up to you!
1. Fully Digital: Design on your computer using something like Canva/Picmonkey, etc. and use it on your iPad (GoodNotes/Notability).
2.Print and Bind: Design digitally using Canva or another editor, then print and place in a binder.
This guide focuses on designing the pages mostly, which works perfectly with both mediums.
What You’ll Need:
-
Design Software: Canva (free version is perfect, but paid subscription offers a lot more options and flexibility) or PowerPoint/Google Slides. There’s also Adobe Express and Visme.
-
Your Content: A list of the sections you want to add.
-
Graphics – (You can use a variety of graphics and clipart from many diffferent places. Here on Clipart 4 School, there’s a wide range of different clipart graphics and different categories to choose from. All of my clipart is affordable and for commercial-use. You can find the TOS HERE.
Note* There’s also a ton of different clipart on sites like Etsy and TeachersPayTeachers. Wherever you obtain your clipart from, just make sure you either obtain the approriate license to use them if you plan on reselling your planners or make sure you’re allowed to use them for commercial use.
Step 1: Map Out Your Non-Negotiable Sections
Don’t just copy a store-bought layout. Feel free to get creative! Think about your actual week and what you tend to do on a day to day basis. While it’s entirely up to you what you wan’t to add to your planner, most teacher planners will likely need these core sections:
-
Year at a Glance: A simple calendar view.
-
Monthly Calendar: For big-picture deadlines.
-
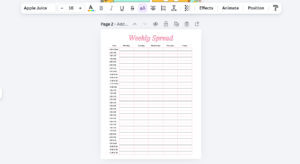
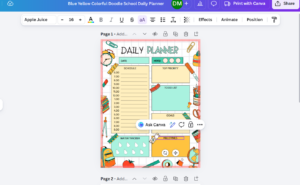
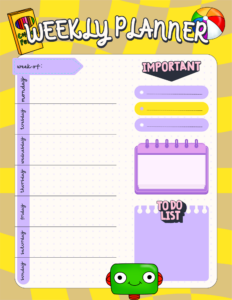
Weekly Spread: This is the heart of your planner. How do you like to see your week? Vertically? Horizontally?
-
Lesson Planning Pages: Space for standards, objectives, and materials.
-
Student Data & Attendance Tracker: Keep it confidential but handy.
-
Meeting Notes: Because you have a million of them.
-
Parent Communication Log: A must-have for records.
Step 2: Set Up Your Template in Canva
Let’s get started on your planner! Open your program of choice. I use Canva premium, but the free version will work fine with this.
-
For Digital Planners: Use the iPad (2048×2732 px) template.
-
For Printing: Set Custom Dimensions to 8.5 x 11 inches (US Letter) or A4.
- Use a premade planner template, which can be found in Canva.
Pro Tip: If you’re not using a premade planner template, be sure to add a light grey border guide (using a square shape sent to the back) to mark your printer’s “safe zone,” so nothing gets cut off.
Step 3: Let’s Design the Weekly Spread (You’ll need clipart for this!)
This is the page you’ll look at most. Let’s make it functional and fun.
1. Build the Skeleton:
Use the “Elements” tab to add straight lines to create columns for each day. Or, use simple squares to block out sections for “To Do,” “Reminders,” and “Next Week.”
2. Add Functional Clipart:
This is the game-changer. Instead of just writing headers, use clipart to make them instantly recognizable.
-
Search for a “To Do List” clipart or anything education related and place it next to your tasks.
-
Add a small alarm clock or bell graphic next to “Reminders.”
-
Use a stack of books graphic for your “Lesson Prep” box.
-
Add a little apple or pencil to the top of each day column.
3. The “Header” Treatment:
Create a dedicated space for the week’s date. Frame it with a cute banner or a strip of boho rainbow clipart. You don’t have to use these elements, but they’re just suggestions! You can honestly add any type of graphics to the planner you’d like.
Step 4: Design Themed Cover and Section Dividers
To make your planner feel professional, you need dividers. This is a high-impact use of clipart that requires very little design skill.
-
The Cover: Use your name, the school year, and a large, beautiful piece of clipart—like a floral bouquet, a stack of books, or a schoolhouse graphic—as the focal point.
-
Dividers: Create a simple page for each section (e.g., “September,” “Lesson Plans,” “Grades”). Use a large, bold letter for the section title and scatter small, related clipart around the edges. For the “Grades” divider, use clipart of checkmarks and stars. For “Lesson Plans,” use clipart of lightbulbs and books.
Step 5: Create Matching Sticker Sheets (The Fun Part!)
If you plan on printing out your planner, you can take it to the next level by printing your own sticker sheets to use within the planner. This also involved the use of various clipart that is aesthetically pleasing.
In Canva, create a new design with the dimensions of Avery Label Sheets or standard Sticker Paper (e.g., 8.5×11).
1. Copy and paste your favorite small clipart elements that you’ve downloaded onto the sheet
2. Arrange them in a grid.
3. Print on sticker paper, cut them out using a cutting machine or with a pair of scissors and use them to decorate your pages on the fly!
Step 6: Assemble and Print
Once all your pages are designed:
-
Export as PDF Print for the best quality.
-
If using a binder, don’t forget to punch holes in your pages!
-
If using digitally, upload the PDF to your note-taking app.
Time to start building your dream planner!
The best part about designing your own planner is that it evolves with you. Next year, you can tweak the layout. And by using clipart, you ensure that your most important tool—your planner—brings you a little spark of joy every time you open it.
Happy Planning!
![]()
Ready to stock up on graphics?
Browse Clipart 4 School’s Clipart collection here:
-

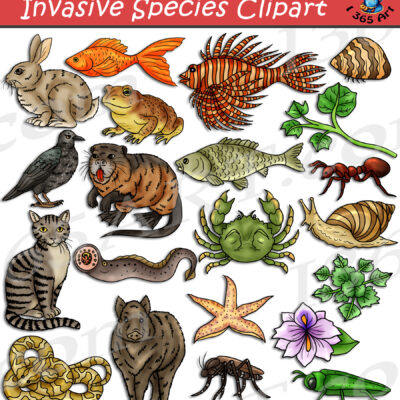
Invasive Species Clipart Download
$5.00 -
Build A Bowl Of Chips & Crisps Clipart Commercial Download
$4.75 -
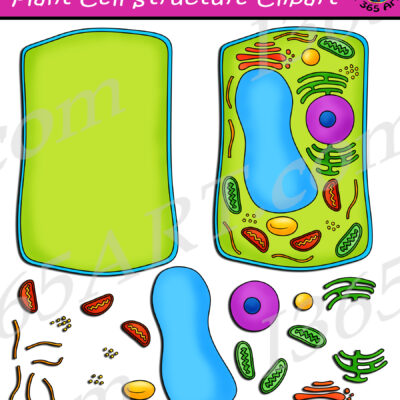
Build A Plant Cell Structure Clipart Set Download
$5.00 -
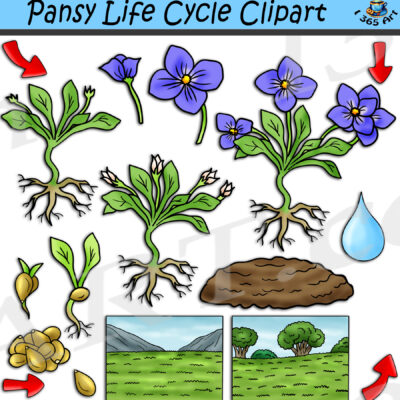
Pansy Flower Life Cycle Clipart Set Download
$4.75 -
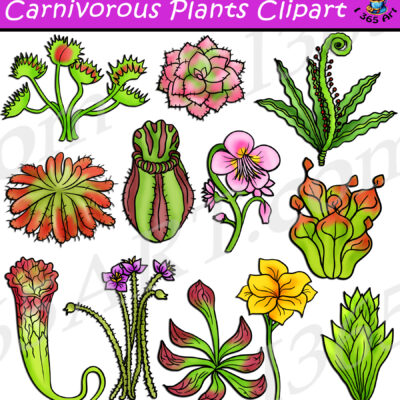
Carnivorous Plants Clipart Download
$4.50 -
French Food Clipart Bundle Set Download
$15.79 -
How To Make Pineapple Upside Down Cake Clipart Download
$4.75 -
How To Make Cake Pops Clipart Download
$4.75