Okay folks, raise your hand if you’ve ever stared at a blank Google Slide and thought that it looked super boring.
Virtually raises hand.
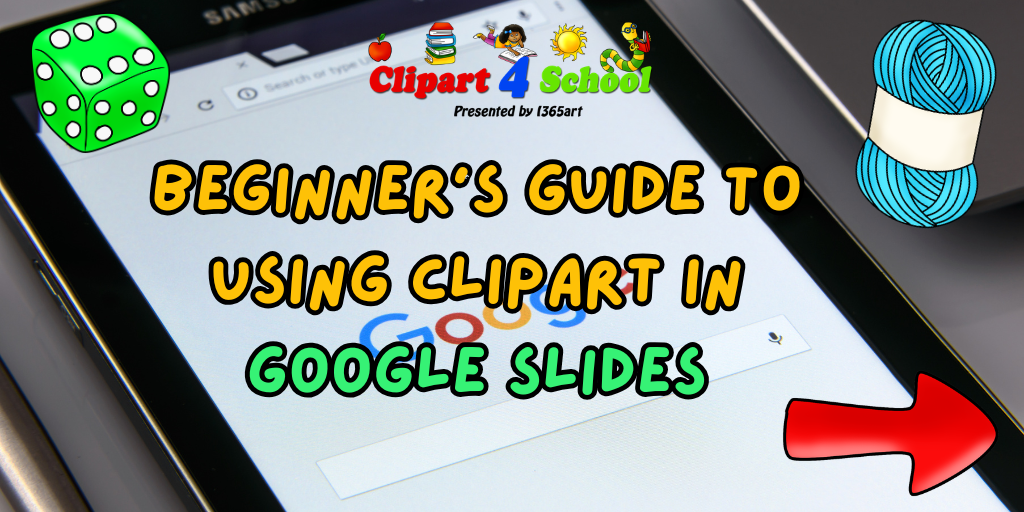
Sometimes, we just don’t know where to start with our Google Slides and that’s okay! I wrote this to give those of us who feel stuck some ideas for your next assignment using Google slides.
When I moved to distant learning, I quickly realized just how difficult it can be to keep your students, especially very young ones, engaged through a screen. It’s just HARD. You can’t just put a block of text up there and hope for the best. You have to actually create something that they’ll want to look at and that’ll actually keep their attention.
So here’s the secret weapon that a lot of teachers may or not be aware of: Clipart.
When used correctly, clipart can be used as a visual cue, a brain break and a engagement magnet for your young students.
Whether you’re building a virtual classroom, designing some new drag-and-drop activities or just jazzing up your morning messages, this beginner’s guide will show you how to utilize clipart in your Google Slides like a pro.
I admit. This might be a little biased, but grabbing graphics right here from Clipart 4 School is the great place to start! All of my graphics can be used commercially and personally. No extra license needed! You can learn more by reading my site TOS.
Why Bother with Clipart?
Before we get to the “how,” let’s talk about the “why.” In a distance learning environment:
-
Visual Cues Help Non-Readers: A picture of a notebook next to “Task 1” tells a student what to do without them having to read the words. That and just keep in mind, many students are just visual learners by nature.
-
It Creates Consistency: Using a specific clipart style that’s bright and eye-catching (sort of like this set), it makes your classroom brand recognizable, comforting and entertaining!
-
It Makes Space for Fun: Learning for young students is hard. A cute animal peeking in the corner or a brightly colored bouncy ball makes the screen feel less like a prison and more like a classroom.
Step 1: Finding and Uploading Your Clipart to Google Slides
First thing’s first—you need to find some clipart to use!
If you’re looking for unique, pretty and high-quality clipart, you can find all of that in my shop. You can search my entire catalogue HERE.
Once you’ve downloaded your files (they usually come in a ZIP folder), here is how to get them into Slides:
- Unzip the folder: Right-click the downloaded folder and select “Extract All.”
- Open Google Slides: Go to Slide > Change Background (for a full page image) or just start a new slide.
- Upload to Drive (The Pro Tip): Instead of uploading the image every single time, open your Google Drive, click New > File Upload, and select all your clipart images. Now they live in your Drive forever!
- Insert the Image: In Google Slides, go to Insert > Image > Drive and find the clipart you just uploaded.
- Alternatively, you can drag and drop the image right in to the slide, but again, you’ll have to upload it again every single time if you plan to use it again.

Boom! Now you’re ready to start designing.
Step 2: The “Virtual Classroom” Hack
This was the trend that took over Pinterest back in the day for a reason. Building a virtual classroom makes students feel like they are walking into your space.
How to do it:
- Find a background image (a simple classroom shelf or room).
- The Fun Part: Start adding clipart!
-
Put a bookshelf clipart in the corner.
-
Add a plant on the shelf.
-
Place a whiteboard clipart on the wall.
-
Add your bitmoji sitting at a desk clipart.
-
Pro Tip: Make it interactive! Hyperlink the books on your bookshelf clipart to a reading website, or link the whiteboard to the day’s assignment. When students click the picture, they go to the lesson!

Step 3: Creating Drag-and-Drop Activities (The Magic of PNGs)
So, good news! All of the clipart available in my shop is in PNG format and comes with a transparent background. This is HUGE for creating interactive activities in general.
Example: A Sorting Game
Let’s say you’re teaching living vs. non-living things.
- Create a slide with two columns labeled “Living” and “Non-Living.”
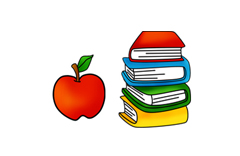
- Insert a bunch of clipart images: a dog, a rock, a tree, a car, a flower, a pencil.
- Push the “Assign” button in Google Classroom (make sure to select “Make a copy for each student”).
- Now, students can click and drag the clipart images into the correct columns!
Why clipart is better than photos here: Children need simplicity when they’re learning, plain and simple! Clipart just simplifies the image so that your students can better process what they’re looking at on the screen. It removes distracting background details and focuses the student on the concept.

Step 5: Digital Stickers for Feedback
One of the hardest parts of distance learning is missing out on the tangible rewards—the smiley face stamp on the hand ot the sticker on the shirt.
Fix it with clipart!
When grading student work in Google Slides, don’t just type “Good job!”. Make your students feel like they’ve earned something by using this method below:
- Keep a sidebar of small clipart images copied and ready to go.
- Paste a star clipart, a rainbow, or a cute animal giving a thumbs up right onto their work.
- Resize it and place it in the corner.
It takes two seconds but makes a world of difference in boosting student morale!
Step 6: Locking it Down (So Students Don’t Move Your Stuff!)
You’ve spent all this time making a beautiful slide with your selected clipart. The last thing you want is for a student to accidentally drag the sun into the ocean and mess up the whole slide.
There really isn’t an official way to lock images, but there are some workarounds that you can use to make sure things stay in place.
Here’s how to protect your work:
- Design your “background” or “template” slide with all your clipart and text boxes that shouldn’t move.
- Select all of the elements you don’t want to be moveable.
- Right-click on them and then “Group” them together.
- You can also “Lock” images by using them as a background as well, but I prefer the grouping method.
Ready to Fill Your Google Drive with Cuteness?
Your Google Slides are the window to your classroom. Make them bright, welcoming, and effective.
Ready to stock up on graphics that are perfect for resizing, moving, and dragging?
Browse my educational clipart collection HERE!
Products By Clipart 4 School
-

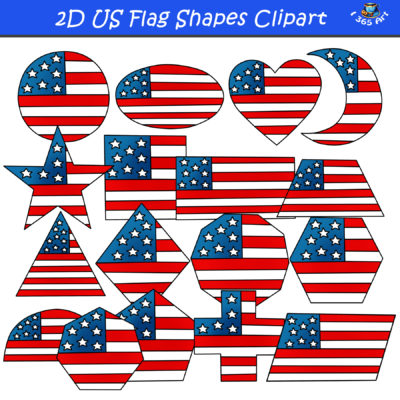
2D American Flag Shapes Clipart Graphics Download
$4.25 -
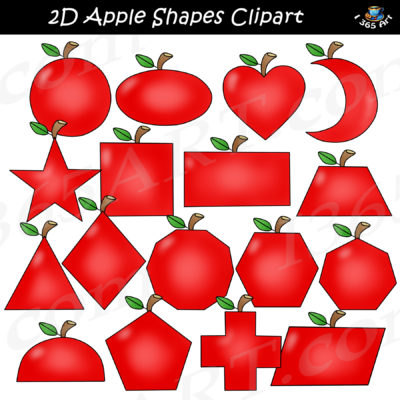
2D Apple Shapes Clipart Graphics Download
$4.25 -
2D Bread Shapes Clipart Graphics Downloa
$4.25 -
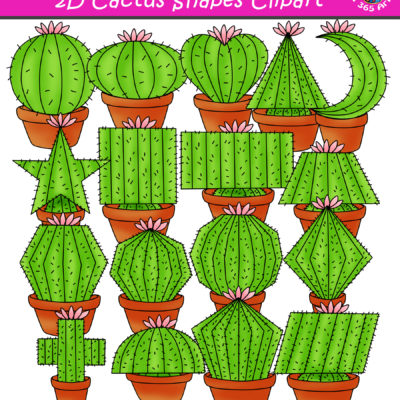
2D Cactus Shapes Clipart Graphics Download
$4.25 -
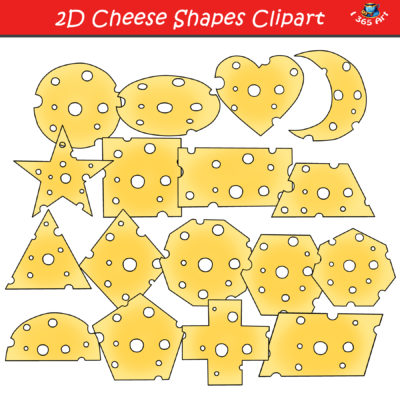
2D Cheese Shapes Clipart Graphics Set
$4.25 -
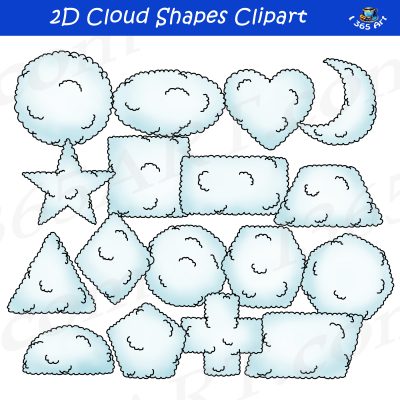
2D Cloud Shapes Clipart Graphics Download
$4.25 -
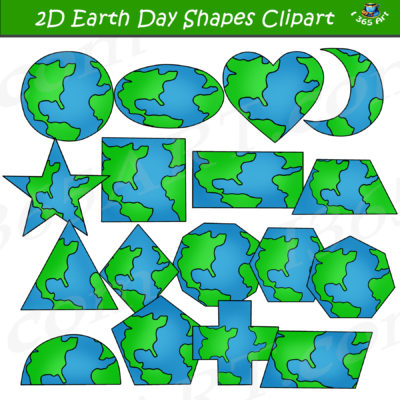
2D Earth Shapes Clipart Graphics Download
$4.25 -
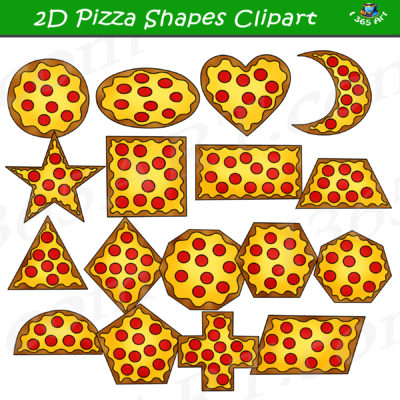
2D Pizza Shapes Clipart Graphics Download
$4.25 -
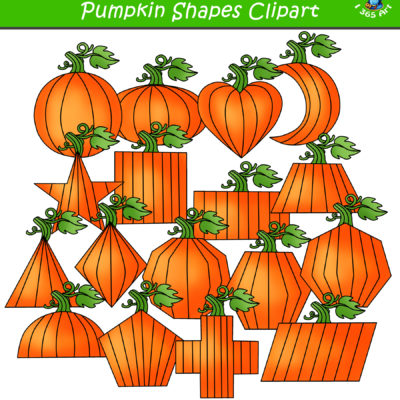
2D Pumpkin Shapes Clipart Download
$4.25 -
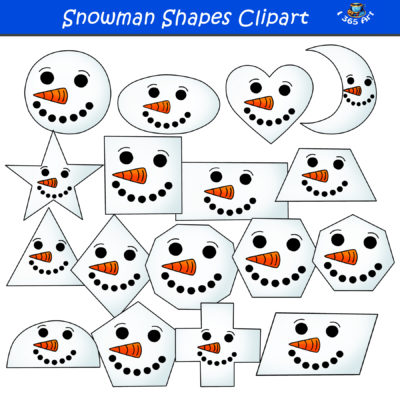
2D Snowman Shapes Clipart Graphics Set
$4.25 -
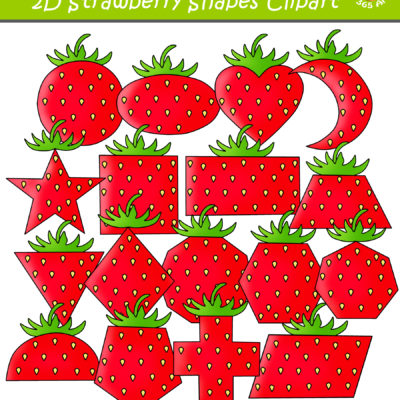
2D Strawberry Shapes Clipart Download
$4.25 -
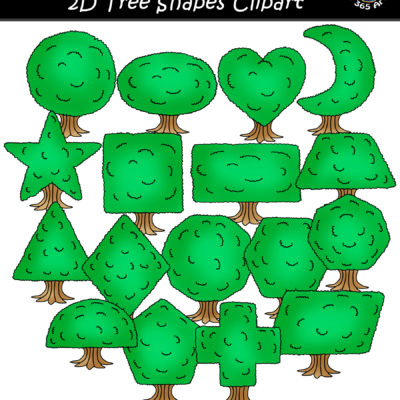
2D Tree Shapes Clipart Graphics Set
$4.25